This article applies to the earlier Bing carburetors, equipped with the ALL STEEL float needles as provided on my 1978 BMW R100/7
The Bing carburetors as installed on the airheads are notorious for leaking fuel if the petcock is left on, especially if the bike is parked on its side stand. Over time and use, merely replacing the actual needle will not be sufficient to stop the fuel bowl from leaking, as eventually the brass seat for the needle becomes worn and no long seals. This is a shame, since the needle seat is pressed into the carburetor housing, with no provision for driving in out from the back side.
No worry, though, as replacement seats are readily available from Bing Agency International in Council Grove KS (about $14 each as of 2019). While you are ordering, you might as well order a new fuel bowl gasket (if not a complete replacement overhaul/jet kit). I would also highly recommend getting the inexpensive Bing manual, which has valuable technical details for all the common Bing models.
The recognized method for removing this seat is to tap threads into the inner diameter of the seat “housing” and use those threads as a mechanism for removal of the housing.
A NOTE OF CAUTION: the inner diameter of these needle seats differs between the early carbs (using the all-steel-tipped, 4 sided needle) and the later carbs which use a triangular needle with soft tip. The later carbs will require an 8mm tap (or some suggest a 5/16 tap which is similar in size).
The early carbs absolutely require a 7mm -1 tap, and there is no reasonably available inch equivalent. DO NOT attempt to use a 5/16 tap as substitute.. you’ll just destroy the very thin walls of the seat.
The replacement instructions provided by Bing International cause me some concern. They suggest running the tap into the seat housing, then clamping the protruding end of the tap in a vise, then “whack” the carb until the seat pulls out. This strikes me as a crude method, and one likely to render an $800 carburetor into an ornamental desk item. The method I chose is a much gentler approach, and is virtually guaranteed to provide damage-free results:
- Obtain a 7mm – 1 Tap (or 7mm – .75 if you can source a companion bolt). You will need a thread-compatible 7mm bolt and nut (I found a 40mm length worked beautifully.. try to find a bolt that is fully threaded the length of the shank). Please be aware that 7mm is quite a rare size. Don’t waste your time looking at Home Depot or Lowes.. you’ll have to go to a speciality bolt shop (My local “American Bolt” provided bolt and 2 nuts for .80 cents), or order online (I found them on Amazon as well), but no other size is going to work.
Carefully work the tap into the needle seat cavity. Once it is started, I recommend holding the carburetor upside down to prevent any brass bits from falling into the fuel delivery tube. After 2 revolutions or so, back out the tap, blow out the opening, and continue until the tap has fully bottomed out in the bottom of the hole:
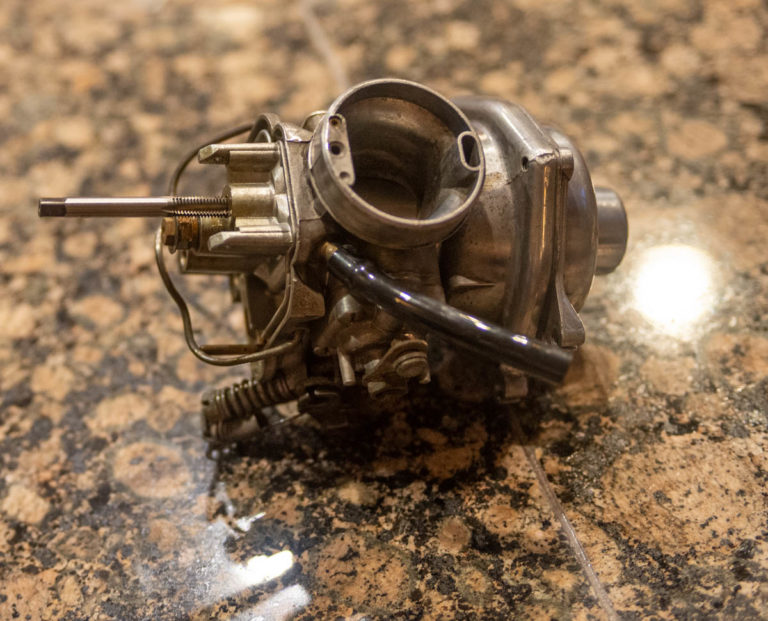
- Now remove the tap, blow out any metal particles, and prepare your “puller” which will consist of your 7mm bolt, a 7mm nut run all the way to the head of the bolt, an appropriate washer, then a spacer such as the larger nut shown here, with an inner diameter large enough to clear the seat as it starts coming out:
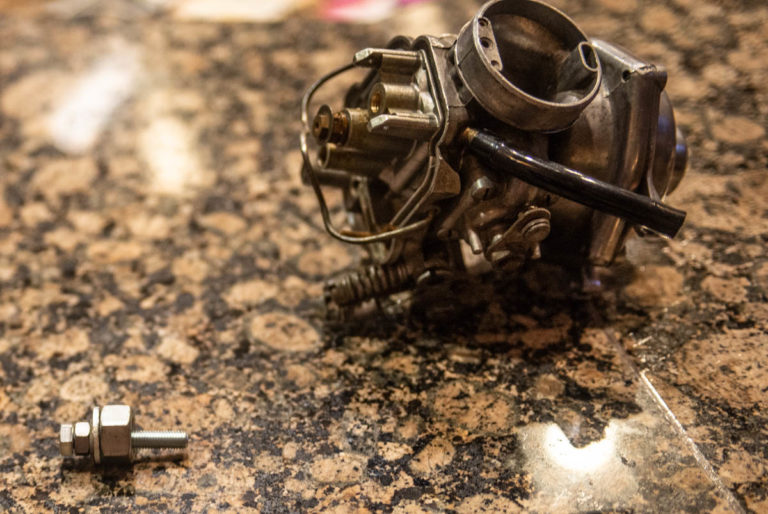
- Screw the “puller” bolt all the way into the needle seat body until it bottoms out. Then run the 7mm nut downward on the bolt shank until it is snug against your spacer nut.. make sure the spacer is centered around the bolt to provide adequate clearance for the seat as it comes out:
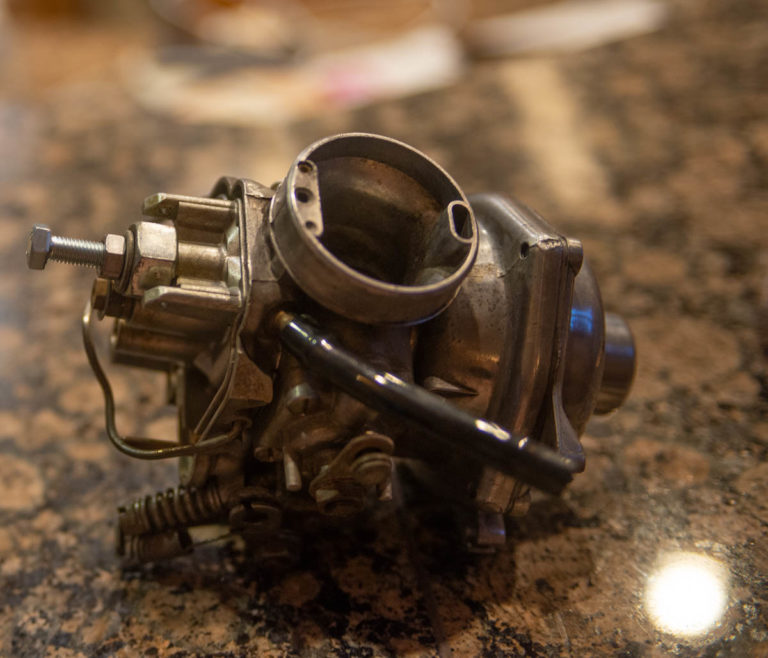
- Now, using a pair of 11mm box end wrenches, use one wrench to HOLD the head of the bolt, preventing it from turning, and the other wrench to lower the nut against the spacer. That seat will be VERY tightly pressed in, and will likely require a good bit of torque to move it from its installed position:
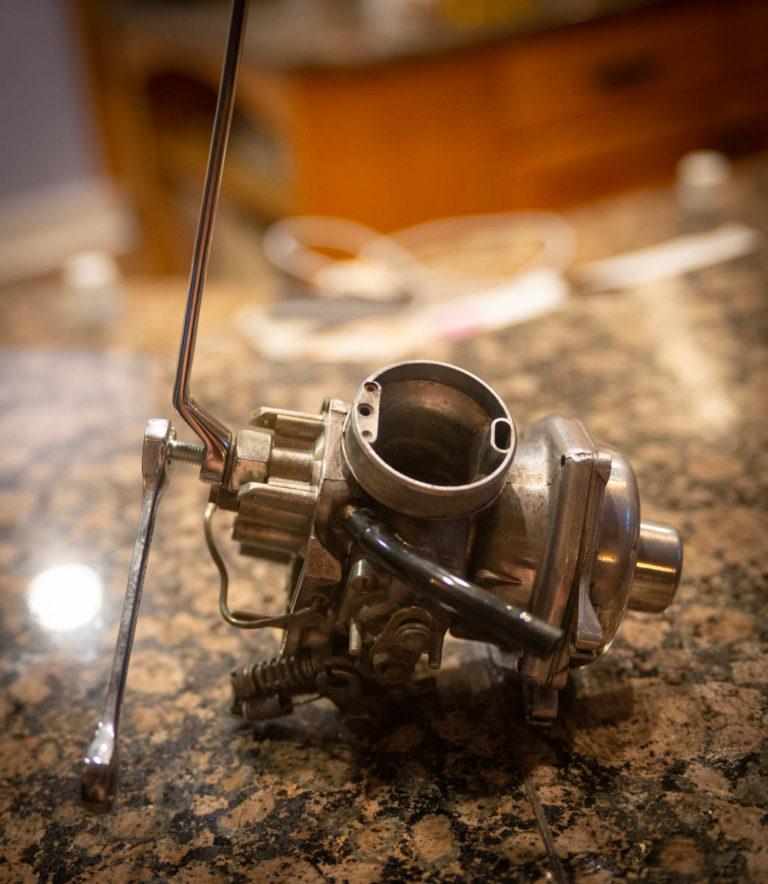
- After you’ve made a couple of turns on the lower nut, the seat should be visible as it comes out of the cavity. Temporarily loosen that lower nut so you can confirm that the seat is, in fact, coming out, and that the spacer will not conflict with further extraction. In the photo below, you can just see the brass rim of the tip as it is emerging:
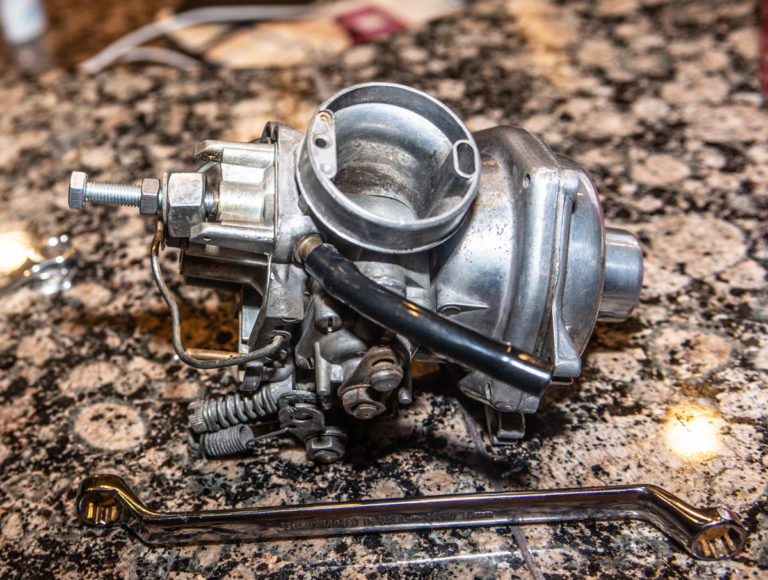
- Continue this process until the seat comes fully free of the carburetor. I found that the old seat was easy to screw right off the 7mm bolt by hand:
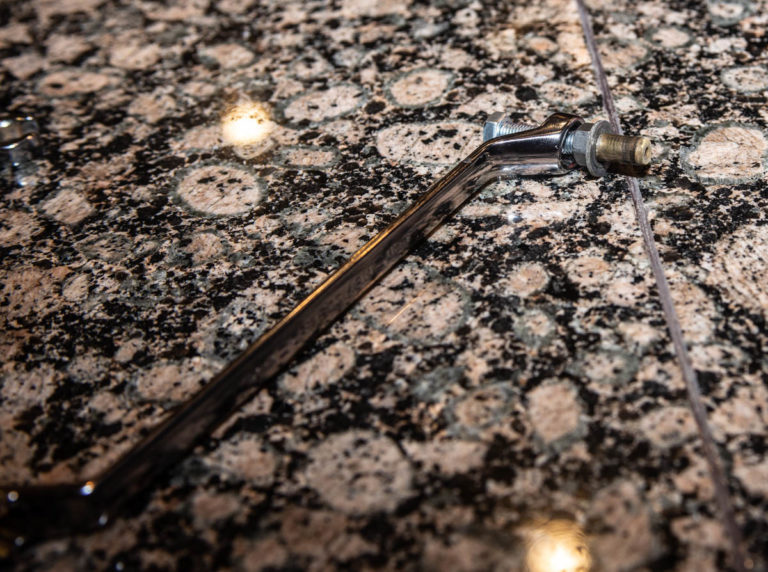
- With the old seat removed, inspect the opening. You will likely find some old fuel deposits caked underneath..Take a flat bladed screwdriver and carefully scrape off any deposits (again, holding the carb upside down so any fragments drop out of the opening). Finally, squirt some carb cleaner in both directions to insure you haven’t left any brass bits down in there to cause issues with the needle valve. A final blast with an air gun would be in order as well.
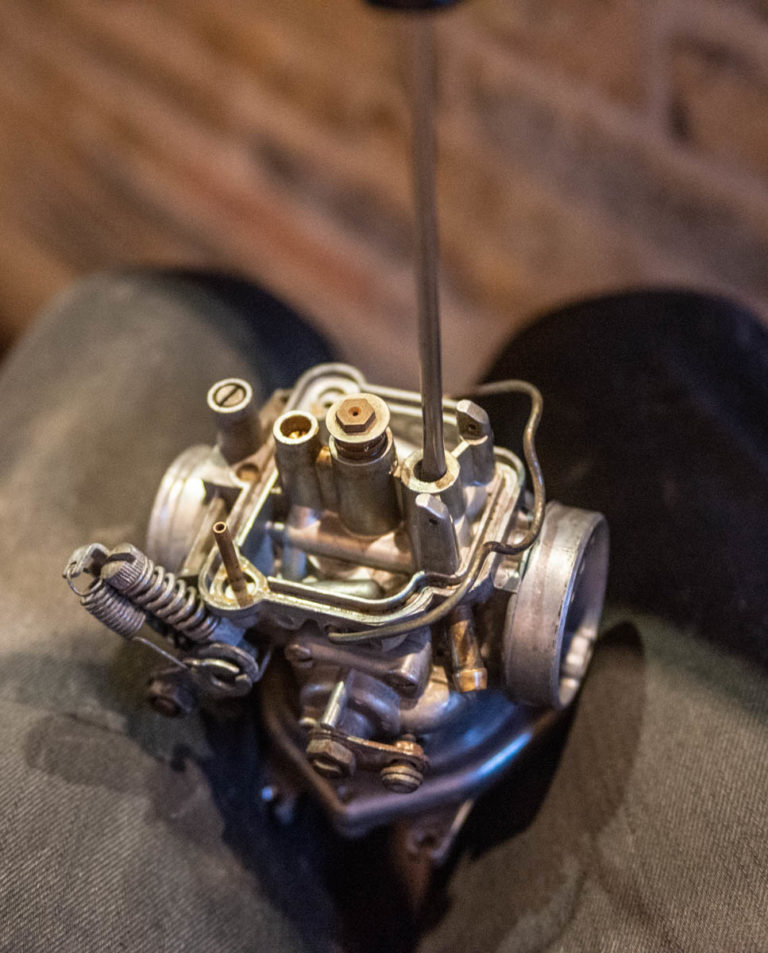
- As noted above, the needle seat is a very tight interference fit. Recognizing that, I opted to pop the entire carb body into my oven at lowest temperature (170F degrees) for about 10 minutes, with the expectation that the heat would slightly expand the hole and facilitate installing the new seat. This may not have been necessary, but it did provide a trouble-free install.
Then with a helper holding the carburetor upside down (with a pair of pot holders), I carefully started the chamfered end of the new seat into its opening, then used a brass drift to slowly and carefully tap the seat all the way home until the top edge was parallel to the carburetor body. The old, threaded seat is shown to the left of the drift, with the new one on the right.
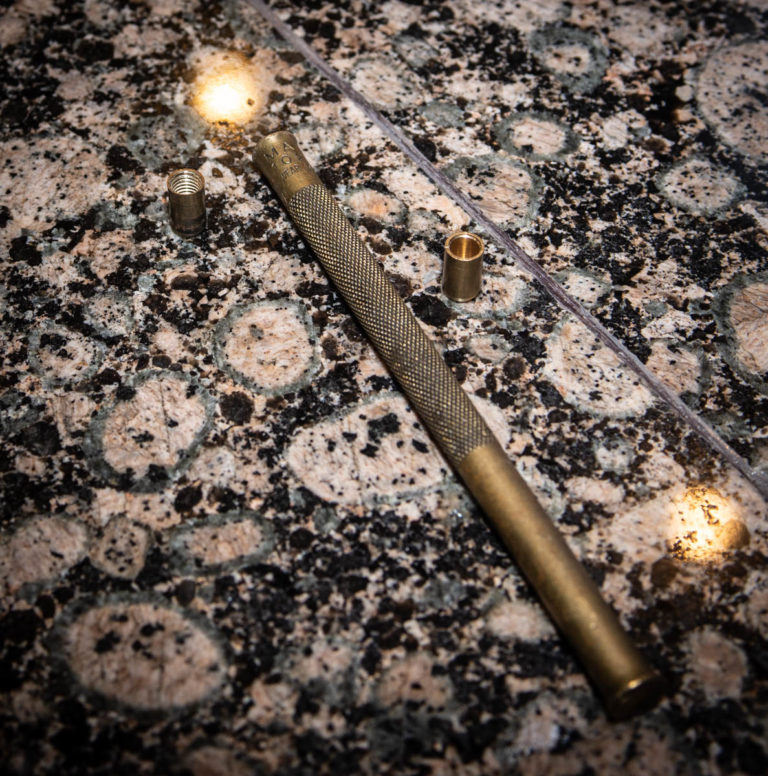
- That’s IT! Adjust your float level in accordance with the Bing manual, plop the fuel bowl back on, and go for a leak-free ride!
