
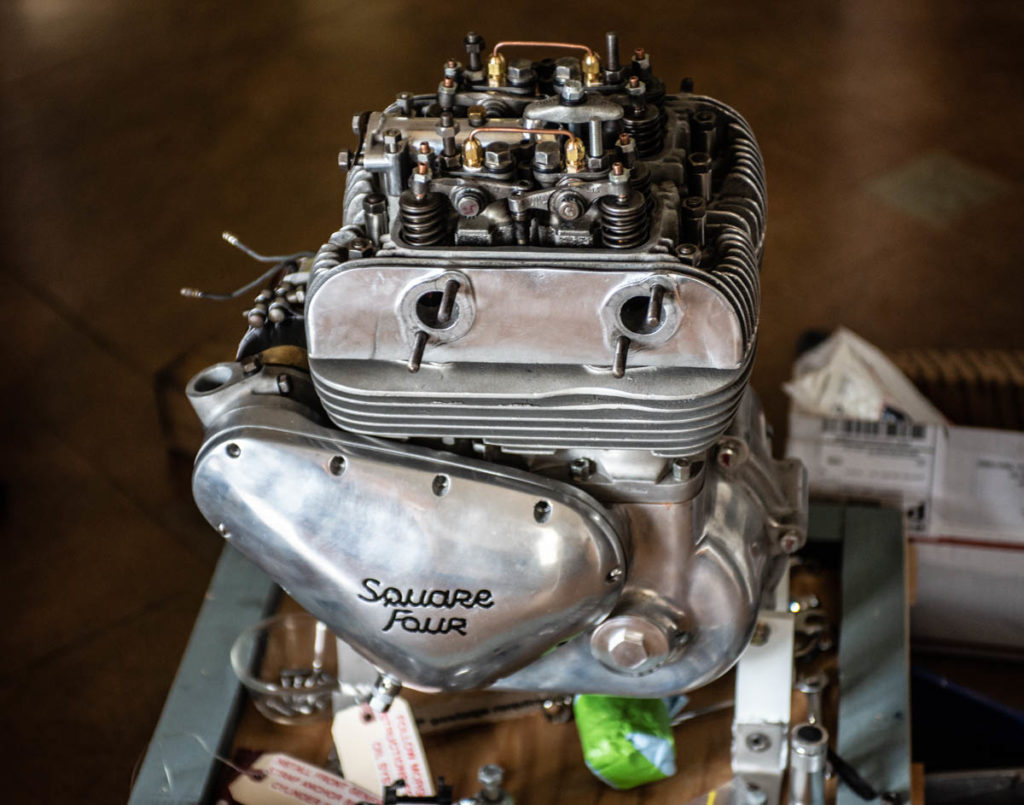
After many months of preparation, I was finally ready to install my completed 1953 Ariel Square 4 engine back in its frame. The “shop” manual (Waller) suggests installing the engine in individual components.. first the crankcase, followed by the cylinder block, and finally the head. I have opted to ignore that advice after reflecting on the difficulty of lining up all those pistons with respective cylinders inside the frame. This approach turned out to be an excellent choice, and doubtless saved me countless hours of frustration.
The 85 lb engine weight is certainly nothing to be taken lightly (pun intended), and no doubt struggling with that massive hunk of metal without some sort of mechanical assistance would be folly. Fortunately, I have a hydraulic motorcycle lift, as well as a standard engine hoist (meant primarily for automobile engines), and I put those tools to good use with this project.
The engine has resided for months on a home-built engine stand, consisting of a wooden platform and angled metal fittings attached to the front and aft lower engine mount bosses:
To aid in lifting the engine, I fabricated a pair of lift plates that fit over the 4 exhaust manifold studs on each side of the engine (I welded washers to the lifting holes just for additional strength.. likely overkill):
I provided for 2 different holes for the lift chain to get proper balance of the engine. It turned out that the aft holes provided near-perfect front-to-rear balance, due to the extra weight of the already-installed dynamo at the rear of the engine.
I attached my engine hoist to each side lifting plate using a short piece of chain and screw-together chain links. Then the engine was lifted and the stand was removed from the bottom.
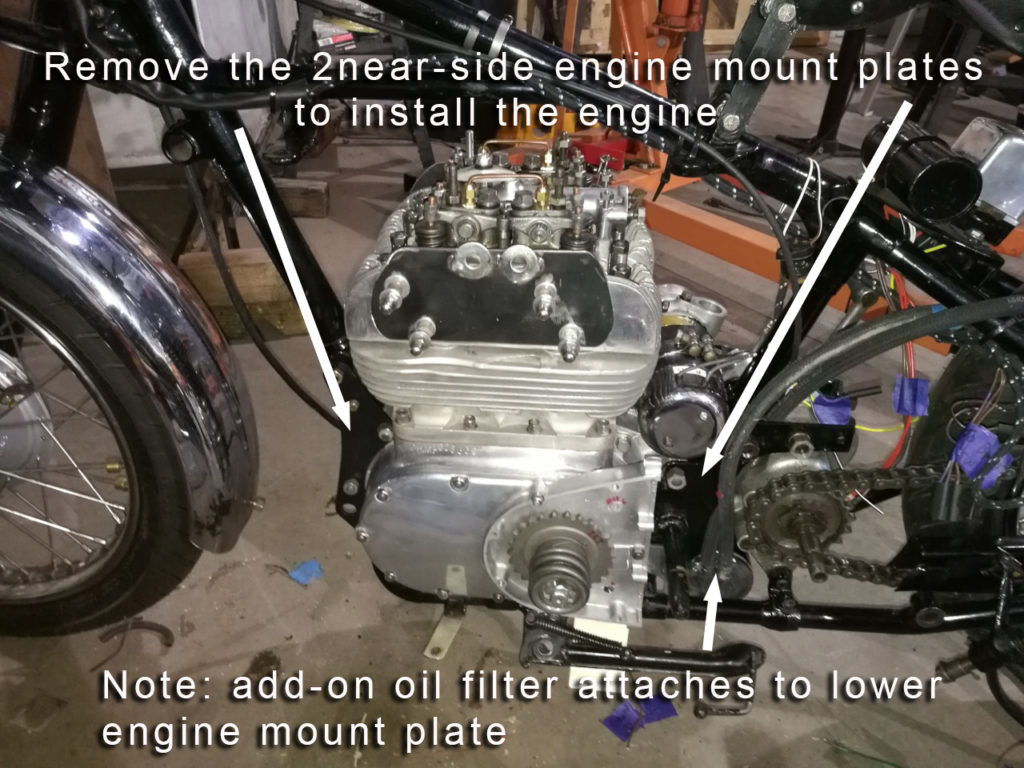
The near-side engine mount plates will have to be removed from the frame to allow room for the engine to slide in.
Next, the engine was carefully lowered onto my wheeled motorcycle lift platform and rolled up next to the frame opening as close as I could get. A piece of stainless metal sheet was cut and laid across the lower frame engine cradle, to allow the engine to slide effortlessly into the frame.
Once the engine was about halfway into the frame, I was able to re-attach the engine hoist, with one chain from the hoist to the engine lift plate over each side of the frame backbone. This allowed free movement of the engine to be precisely positioned in place. Hint: There is a cross support tube between the aft frame down tubes that the rod for the foot pegs goes through. MAKE SURE that tube and the foot peg rod is in place befor securing the engine in the rear, since there won’t be sufficient clearance to insert the tube afterward.
From there, it is simply a matter of adjusting the hoist as needed to line up the mounting holes for the engine, and installing the mount bolts. Now grab yourself a congratulatory beer!