
Some people find pleasure in a beautiful flower, or tasty dish of food. While I too can appreciate those things of beauty, it is mechanical objects that seem to most attract me.
Ever since I was a kid I would take great delight in disassembling some object to see what worked inside and then (sometimes successfully) reassemble it!
I do especially like the idea of turning a hunk of raw material into an object of usefulness and/or beauty.
Thus you can imagine our excitement when my shopmate Doug and I recently acquired a huge metal milling machine for our automotive shop. Although we are both retired, and the shop is a hobby for us, this monster is no hobby machine, but a serious tool for fabricating just about anything of metal. 
Recently, I had been thinking about adding a steering column-mounted switch to control the overdrive kickdown function (a.k.a. “passing gear”) on my 1951 Hudson Hornet Club Coupe.
The original method of “downshifting” out of the overdrive or 4th gear mode is to press the accelerator pedal all the way to the floor, activating a switch there. This works great, but there are times you would like to ease into the lower gear without going to full throttle, so an auxiliary switch mounted at fingertip seemed the way to go.
My Hornet is in pristine, original condition, and the last thing I wanted to do was bore a hole in that beautiful dash for a switch. Nor did I want to alter anything on the steering column that might contrast with originality, or leave permanent scars.
The Hudson steering column itself is a thing of beauty… all constructed of chrome or polished stainless steel. To match that motif, the solution I chose was to fabricate a switch housing from a solid block of aluminum, and attach it to the back side of the existing turn signal switch housing.
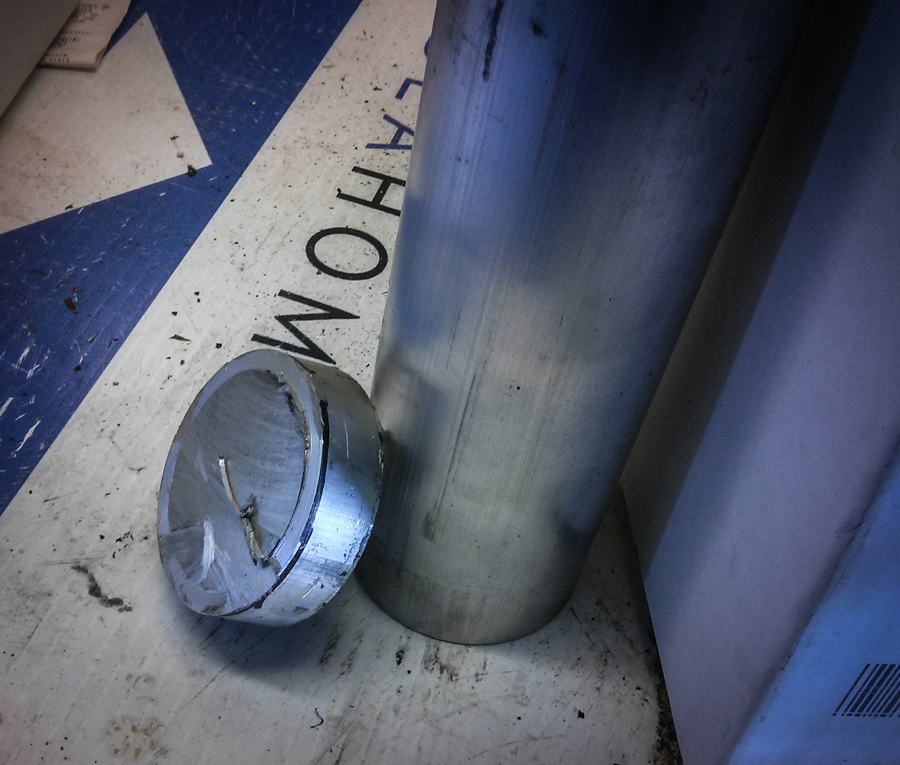
The project began by slicing a disk of solid aluminum off a 2″ diameter aluminum rod I had laying around our 1930’s vintage Atlas lathe:
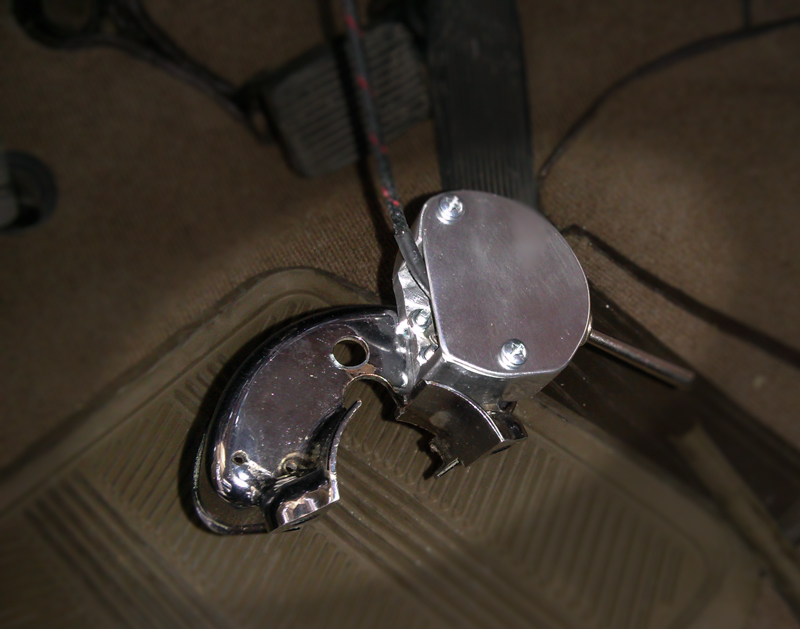
The next step was to use the milling machine to cut a recess in the back side of the disk as a pocket to mount the switch (which I sourced as a momentary spring loaded starter switch). Additionally, the milling machine was used to shape the outer diameter of the (no longer) disk to match the contours of the steering column (the image below shows the switch already mounted in the housing, and the housing already mounted to the back side of the turn signal housing):

Finally a cover plate was fabricated of aluminum, and holes drilled and tapped in the housing to attach it:
Of course, prior to final assembly, the complete piece went through the standard polishing routine: grinding, sanding, and multi-stage polishing to achieve a mirror shine.
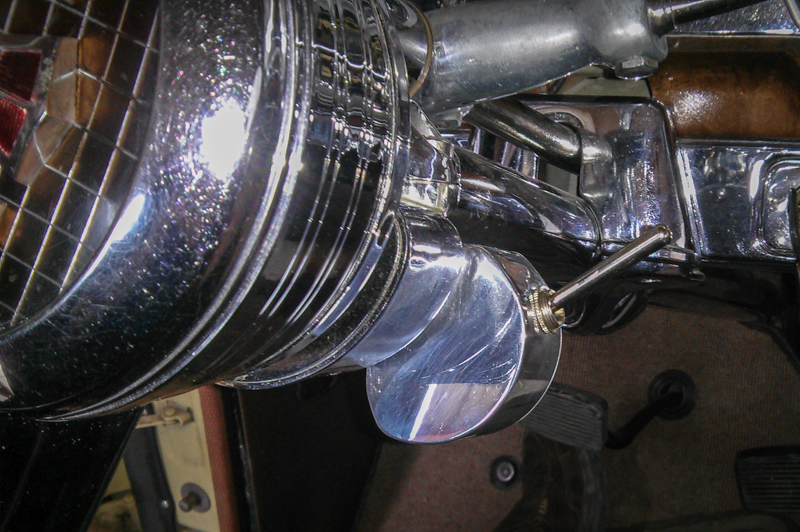
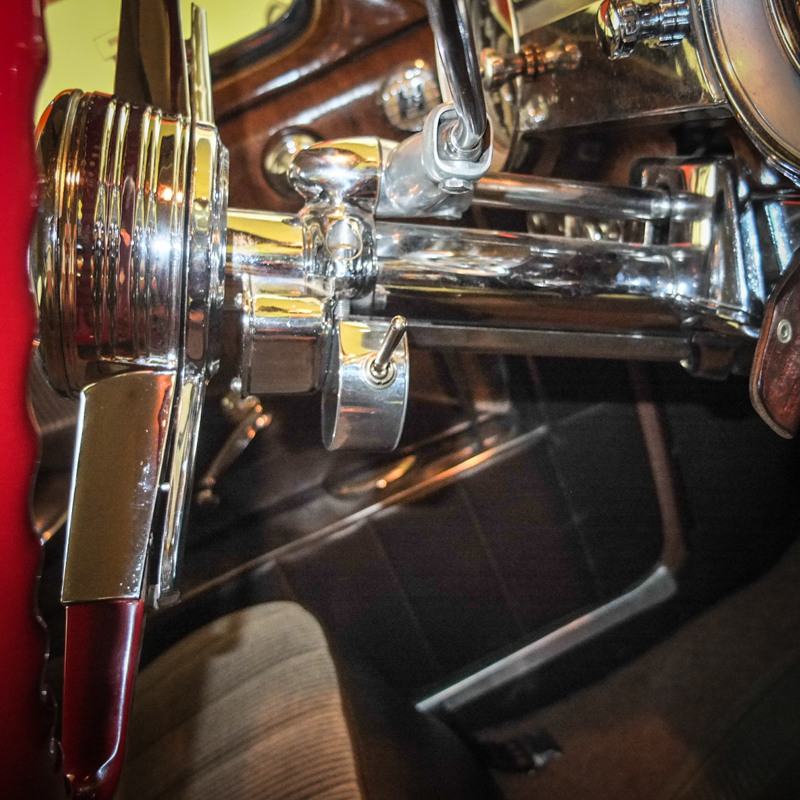
Here is the final result:

Of course, just physically installing the switch is only part of the task. In order to make this switch function in cooperation with the existing overdrive solenoids and relays, a few modifications were necessary to the wiring, including adding two additional relays to complete the task.
For the true gearheads amongst you, I created a documentation of the complete process, including wiring diagram showing the necessary changes, which can be viewed from the link below:
Installing a Steering Column or Dash mounted kickdown switch